Recently Sleeklens contacted me asking if I would test their preset actions for Photoshop CC. In exchange for posting my evaluation on my blog, they would send me free of charge a set of the action presets. I have never been a big fan of presets, preferring total control over the post capture process by doing all the adjustments in either Lightroom or Photoshop myself. I decided to give the presets a try thinking that they may streamline my workflow.
The pre-sets are broken up into 7 groups. The groups are titled:
• Exposure
• Base
• Tone
• All in One
• Enhance
• Specialty
• Temperature
Within the Exposure group are presets for lightning and darkening an image and increasing image contrast. Also there are presets to reduce highlights and open up shadows.
The base group contains presets for basic image adjustments such as clarity, saturation, split tone, and specialized contrast.
The Tone group included cold shadows, warm highlights, dramatic dark and stormy skies, sunset, and color pop to name a few.
The Temperature group contains just two presets for white balance adjustment, one for warmer and the other for cooler.
The final two groups contain specialized presets and are best left to the user to experiment with their effects.
Moving the opacity slider can control the effect that each adjustment has on an image. Also layer masks can be used if a more localized effect is desired.
Below are a few examples to illustrate some of the presets. Before importing into Photoshop, only sharpening and lens corrections were applied to the image in Adobe Camera Raw. Once in Photoshop, the Sleeklens presets were applied. No other processing was done.
The first image was taken in an area in Iceland called Landmannalaugar. I really liked the pallet of colors present in the landscape. These colors are due to the variety of ores deposited in the ground over time during volcanic eruptions. The original raw image does not do a good job in representing these colors. Since the image appears very dull, I felt it would be a good candidate for the Sleeklens Color Pop preset.

Original RAW Image

Image processed using Sleeklens Color Pop Preset
After running the preset, I then adjusted the opacity to produce the effect that I wanted. In the case of this image, I ended up with the opacity slider at 20%, feeling that this best represented what I saw looking through the viewfinder.
The next example is an image of a lighthouse in Iceland. The area where this lighthouse is located is called Patreksfjordur. What drew me to this scene when I made the image were the clouds in the sky and the contrast of the sky and the white lighthouse. Since I wanted to accentuate the sky in this image, there were three presets that looked promising, Dark and Stormy, Dramatic Sky, and Sky Enhancer. I then ran each preset, performed a side by side comparison, and selected the preset that produced the best effect. I selected Sky Enhancer due to the additional detail that it recovered in the sky close to the horizon, the effect the preset had on the dark clouds in the sky, and the pop in the red color of the lighthouse roof. One thing that I like about the Sleeklens presets is that you can pick a couple of presets, quickly apply each preset individually to an image, and then compare the results side by side and pick the result that you like the best.

Original RAW Image

Image processed using Sleeklens Sky Enhancer Preset
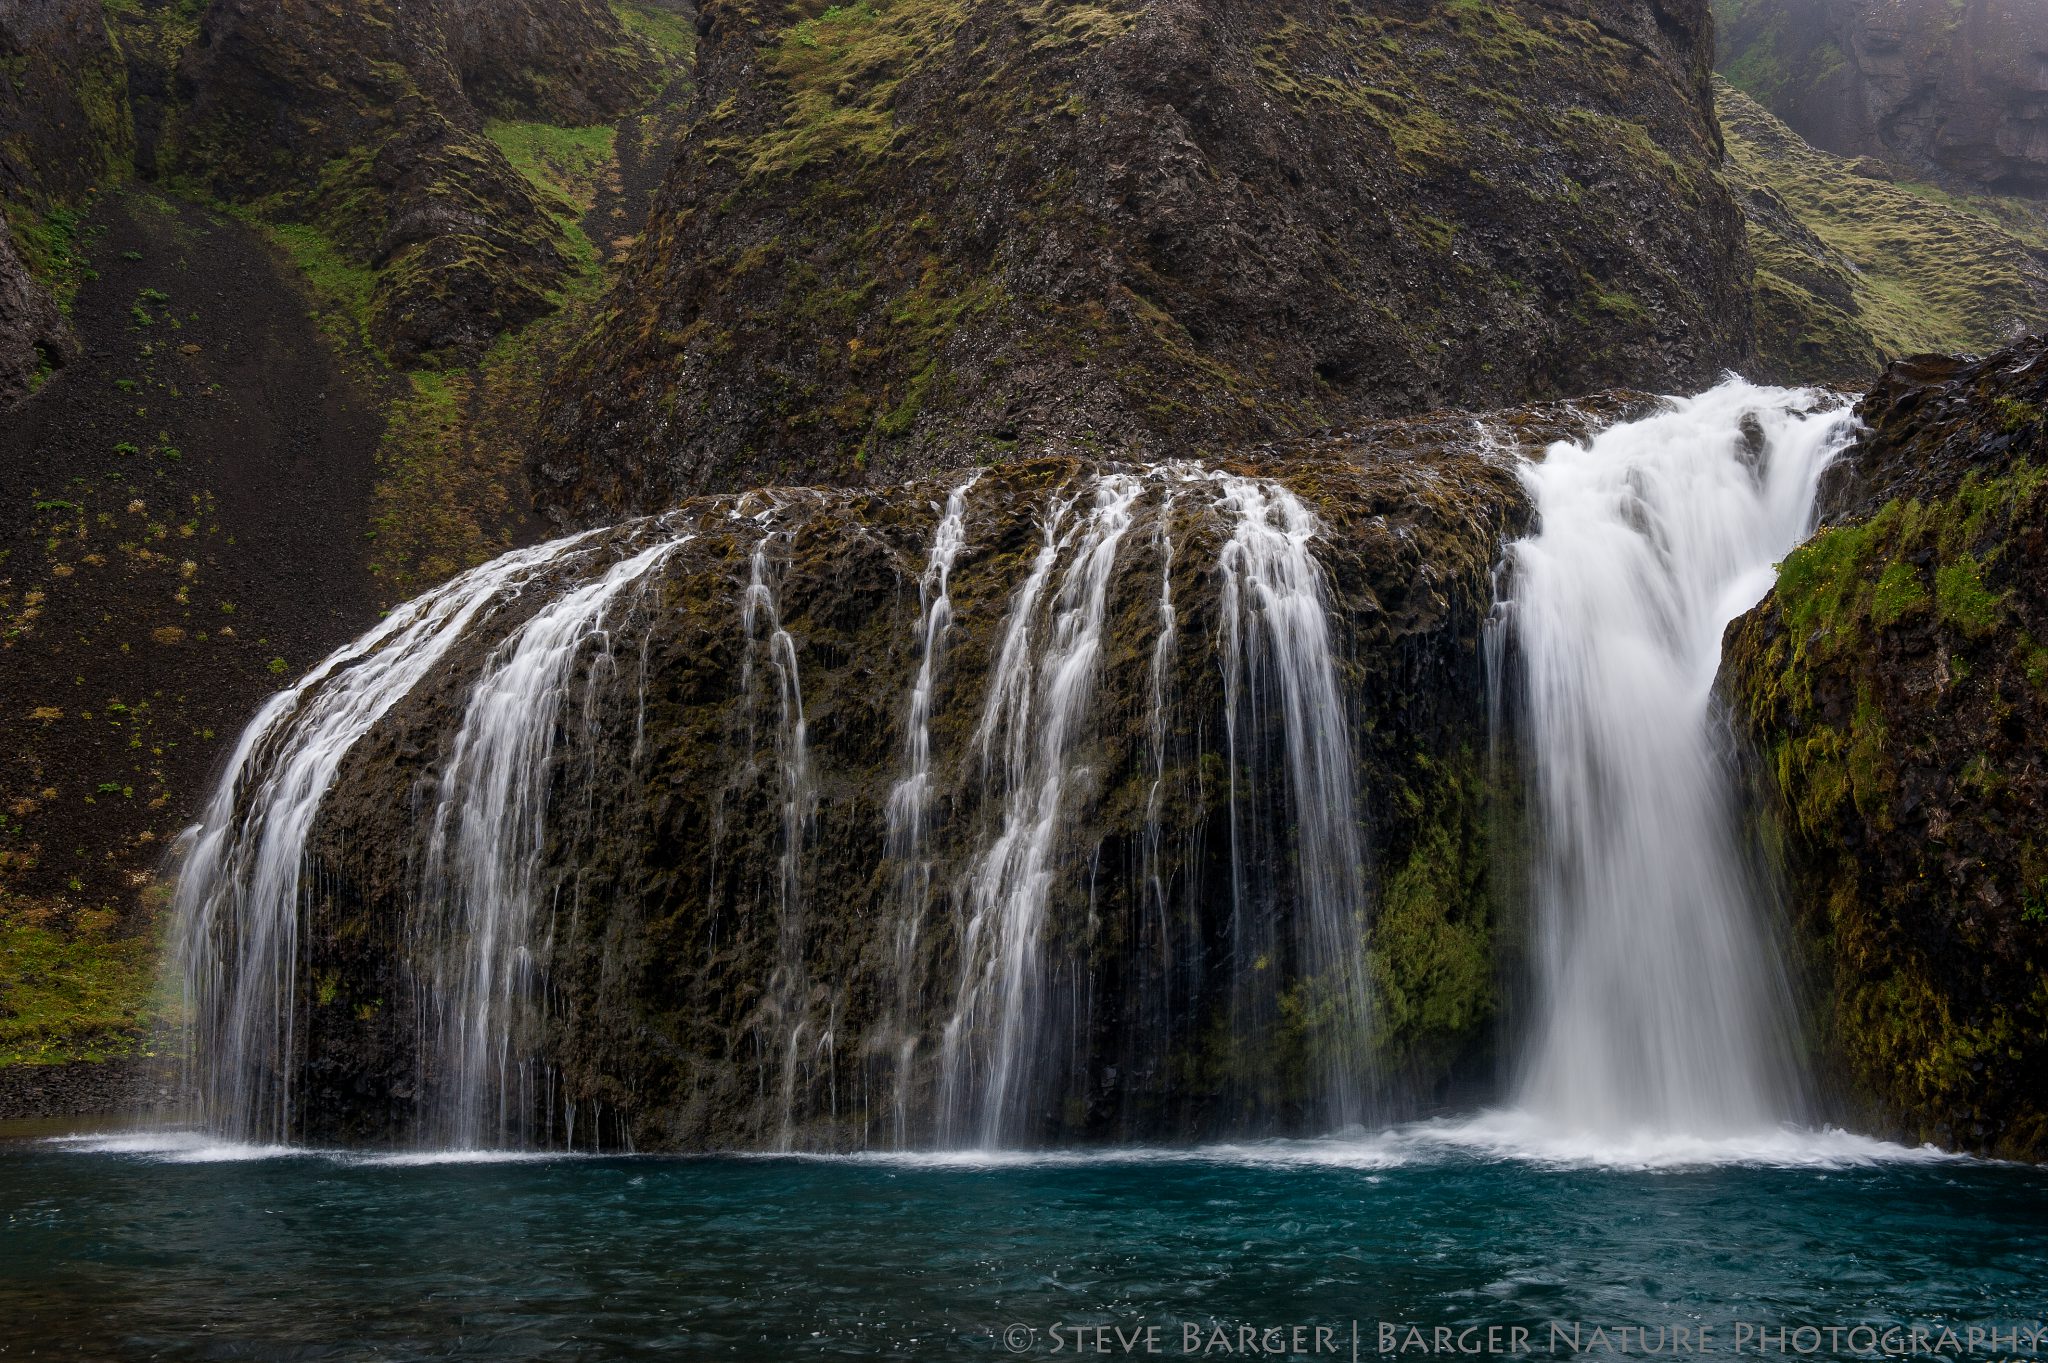
The last example is an Icelandic waterfall. I don’t recall the name of this waterfall but this picture was taken on a foggy morning in a light rain. My first thought was to accentuate the light fog. I decided to try the Dreamy Landscape preset. The result was interesting. I then decided to try a different approach and increase the contrast in the image for a more conventional look. So I ran the Dramatic Contrast preset. The increase in the contrast brought out the greens of the moss on the rocks and the blue in the water. All that remained was to open up the shadow areas in the rocks behind the waterfalls. To open up the shadow areas I used the Brighten Shadows preset. To achieve the desired result here I used two presets, running the Dramatic Contrast preset, save the result, flatten the image, then run the Brighten Shadows preset. It is easy to apply multiple presets to an image to achieve the result you want.

Original RAW Image

Image processed using Sleeklens Dreamy Landscape Preset

Image processed using Sleeklens Dramatic Contrast and Brighten Shadows Preset
Conclusion:
I found the set of presets very intuitive to use. Once looking at an image and deciding what in the image needed improvement, it was very easy to select one or maybe two presets to run. The presets are very easy to run. In most cases, after the preset ran, the only thing left was to make a minor adjustment in the opacity to achieve the desired effect. I will definitely be adding these presets into my workflow since they have proven to be a great time-saver. I highly recommend that any landscape shooter give them a try. The can be found at – www.sleeklens.com

